Staying connected on your trip doesn’t have to mean juggling SIM cards or hunting down Wi-Fi. With an eSIM, you can skip the hassle, activate your mobile plan digitally, and explore Australia without missing a beat. Whether you’re snapping photos of the Sydney Opera House or checking directions to the Great Barrier Reef, having reliable data makes your travels smoother and stress-free.
This guide walks you through how to set up an Australian eSIM so you can stay connected wherever your travels take you.
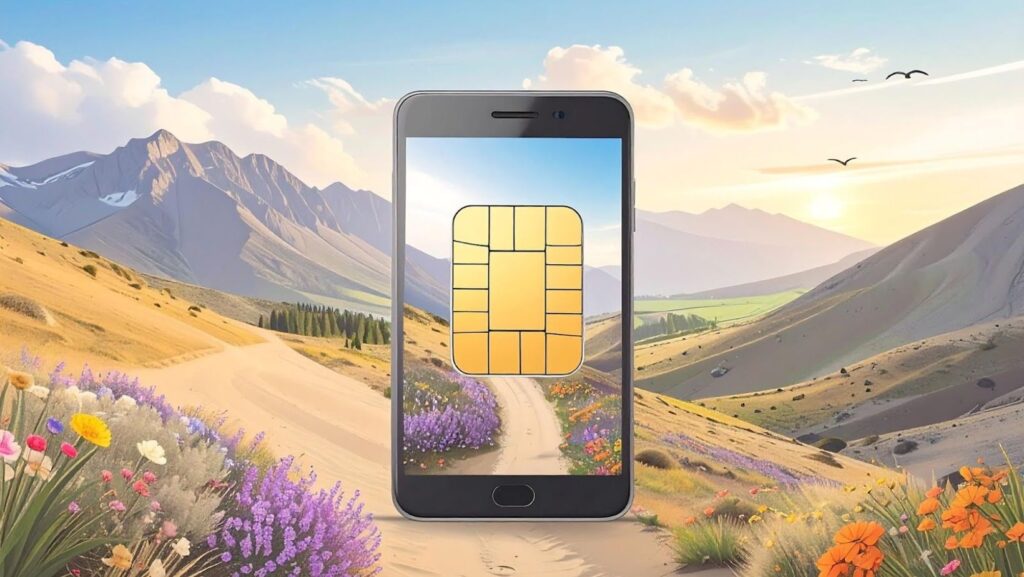
Why Use an eSIM in Australia
When you’re traveling, convenience matters. An eSIM lets you activate a mobile plan without inserting a physical card. It works right from your phone’s settings, which means no waiting in line at a kiosk or dealing with tiny SIM trays that seem to vanish in hotel rooms.
Using an eSIM in Australia gives you freedom and flexibility. You can compare data plans before you even land and switch between them if your needs change. You’ll also save money compared to traditional roaming plans that can cost a fortune.
Check If Your Phone Supports eSIM
Before you buy anything, check if your phone supports eSIM technology. Most newer models do, but it’s still worth confirming.
- iPhone: Go to Settings → Cellular → Add eSIM or Add Cellular Plan. If that option appears, your device supports eSIM. Models from the iPhone XR and later include built-in eSIM functionality, so you can easily add a plan without needing a physical SIM slot.
- Android: The steps vary depending on your phone brand. Generally, go to Settings → Connections → SIM Manager or Network Settings to see if you can add an eSIM. Phones like the Samsung Galaxy S20 series or later usually support eSIM.
If your phone is carrier-locked, contact your provider before traveling to confirm you can use an international eSIM. It’s a quick check that can save you a lot of frustration once you’re abroad.
Choose an Australian eSIM Provider
One big challenge travelers face when arriving in a new country is figuring out how to stay connected right away. Airport kiosks can be pricey, and roaming often costs more than expected. That’s why choosing a reliable eSIM Australia provider before your trip is a smart move. These services let you set up a local data plan in minutes, giving you instant access to your travel apps as soon as you land.
Most international eSIM platforms offer plans that connect to Australia’s top mobile networks. When comparing options, check the coverage area, data limit, and validity period, rather than focusing only on price.
Before purchasing, read a few traveler reviews to see which providers offer stable service in both major cities and regional destinations. It’s a simple step that helps you avoid connection issues later.
Buy and Activate Your eSIM
Once you’ve chosen a provider, buying and activating your eSIM is simple. Most eSIMs can be purchased directly online. After checkout, you’ll receive a QR code or activation code via email.
- iPhone: Open Settings → Cellular → Add eSIM and scan the QR code. Follow the prompts to install your eSIM profile and confirm activation.
- Android: Go to Settings → Network → SIM Manager → Add eSIM. Enter the activation details or scan the QR code, then confirm installation when prompted.
You can activate your travel eSIM before leaving home or once you arrive in Australia. Activating ahead of time helps ensure everything works right away, but if your plan starts counting data from the moment of activation, it’s better to wait until you land.
Configure Your Device Settings
After installing your eSIM, double-check your device settings to make sure everything’s working properly.

If you’re using two SIMs (your home SIM and your Australian eSIM), choose which one you’ll use for mobile data. On iPhones, go to Settings → Cellular → Cellular Data and select your eSIM. On Android, open Network Settings → Mobile Data and pick the eSIM option.
Make sure Data Roaming is turned on for your eSIM. This ensures your phone connects to the local network right away. If your data doesn’t start working immediately, switch airplane mode off and on or restart your device.
Manage Data and Connectivity During Your Trip
It’s easy to burn through data when you’re uploading photos or using navigation apps. You can track usage through Settings → Cellular Data Usage (iPhone) or Settings → Network and Internet → Data Usage (Android).
If you run low, most eSIM providers offer quick top-ups through their website or app. You can also switch to Wi-Fi in cafes, hotels, and airports to conserve data. Many public spots in Australia have free, reliable Wi-Fi, so take advantage of it when you can.
To stay prepared, download offline maps or playlists before heading out. That way, you’ll still have what you need if your signal drops in remote areas.
Common Issues and Quick Fixes
Even with a good setup, technical issues can happen. Here’s how to handle common ones:
- No network detected: Check that your eSIM is selected for mobile data and that Data Roaming is turned on.
- Activation failed: Restart your device and try scanning the QR code again. If the issue continues, contact your eSIM provider’s support team.
- Slow connection: Move to an open area or switch between 4G and 5G if available. Some regional zones may have limited coverage.
Keep your provider’s support contact details handy. Many offer live chat or messaging assistance, so you can get help quickly while on the go.
Final Thoughts
Traveling through Australia is an unforgettable experience, and staying connected shouldn’t be stressful. With an eSIM, you can access maps, bookings, and messages instantly without using a physical SIM or paying high roaming fees. Checking your phone’s compatibility and following a few simple setup steps is all it takes to stay connected from the moment you arrive.